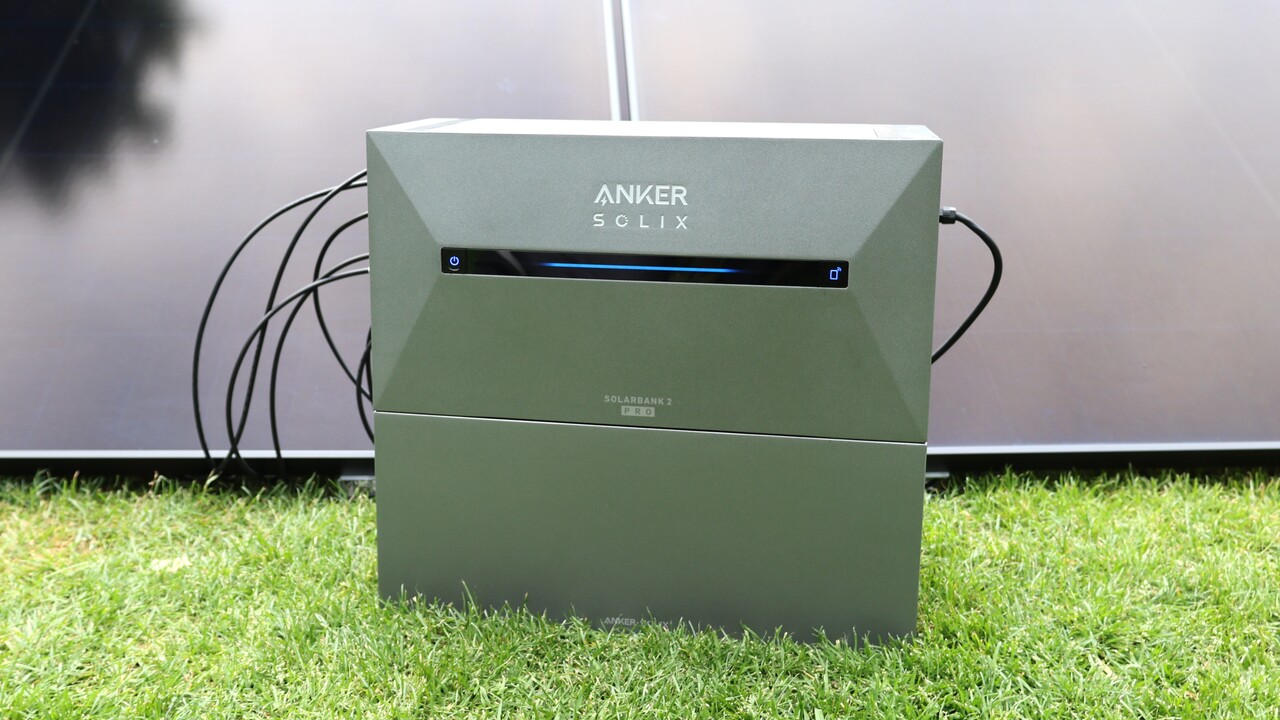
Anker Solix: Solar bank 1 can now serve as an additional battery for solar bank 2 16 comments

When announcing the Solar Banks 2 Pro (test) and Plus, Anker announced that owners of the first Anker Solix E1600 Solar Bank (test) could use it as an additional battery for the new model by the end of the year. Today, Anker delivers on that promise and delivers the necessary update.
The 1st generation solar bank (from summer 2023) serves as additional storage for the 2nd generation solar bank series. This means that first generation owners can continue to use them if they want to upgrade to the new, more powerful model. The Anker app update, available for Android and iOS, is currently rolling out. This is a prerequisite for using solar bank 1 on solar bank 2.
To use the Anker Solix Solar Bank 1 E1600 as an additional battery with the Solar Bank 2 Plus or Pro, two steps are required.
Step 1: physical connection
Connecting to the power grid First, the Solar Bank 2 Pro/Plus is connected to a household outlet using the supplied AC cable using a Schuko socket. The AC mains output of the Solar Bank 2 Pro/Plus is used for this purpose. Connecting the 1st generation solar bank with solar panels Two solar modules can be connected to solar bank 1 via the PV inputs. Connection between the 1st generation solar bank and the Solar bank 2 Pro/Connect Plus The output port of the 1st generation solar bank is connected to one of the MC4 input ports of the Solar Bank 2 Pro/Plus. The extension cable supplied with the Solar Bank 2 Pro/Plus can be used for this purpose. Connecting the remaining PV modules If additional PV modules are available, they can be connected individually to the remaining input connections of the Solar Bank 2 Pro/Plus.
Note that photovoltaic modules must not be connected in series so as not to overload the inputs. The original Y-cable of the 1st generation solar bank should not be used to connect the two input ports of the Solar Bank 2 Pro/Plus. This incorrect wiring can damage the device. The following images show the correct connection.
If you already use two solar banks 1, you can also connect both to solar bank 2. The following images show the correct connection in this case.
Step 2: In-app setup
After connecting the devices, the second step is to configure the Anker application, which must be installed at least in version V3.3.2. In addition, the firmware of the solar bank 1 E1600 must be at least version 2.0.9.
Add a new device Tap the settings icon on the top right of the app interface to open the settings and select the “Manage Device” option. In the device management, select the “Add Solar Bank 2 E1600 Pro/Plus” option. Confirm the successful integration of the device and ensure that the Solar Bank 2 E1600 Pro is successfully connected to the original Solar Bank E1600 power station.
 Set up Solar Bank 1 and Solar Bank 2 in the Anker app (Image: Anker) Create a new management system Set the power station operating mode to open the corresponding operating mode interface. Select the desired operating mode of the power station. Complete the creation of the new compatible Powerstation and confirm the successful configuration and compatibility. View the new Powerstation in your system to check and confirm the display and functionality.
 Set up Solar Bank 1 and Solar Bank 2 in the Anker app (Image: Anker)

Lucas explores smart gadgets and connected ecosystems to optimise home comfort and security.


